Quick Model on a Database
Quick modeling provides a convenient alternative to full modeling; rather than preparing the ETL from Model, you can simple create a new data model on-the-fly from Discover, and then query it immediately. Quick modeling allows you to import tables from a database; you can then edit the table relationships, and the table and column properties. Quick modeling does not expose the full functionality available in Model, but data models created via quick modeling can later be edited in Model.
Permissions for Quick Modeling
The ability to add a server is managed via Profiles. By default, Admins can add new servers. Non-Admin users can only add new servers if they belong to a role assigned to a profile that has the 'Add data server' switch enabled.
All Professional users have the ability to add a new database from Discover Pro.
How to Quick Model
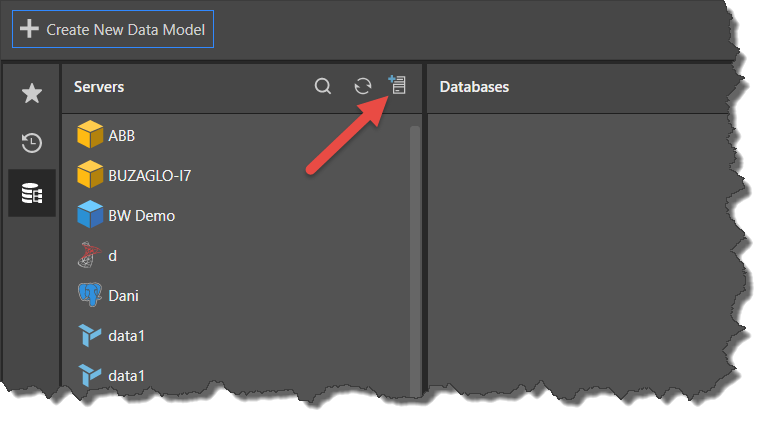
Start by opening the Discover module as usual. To add a new server, click the Add New Server button, rather than selecting a server from the list.
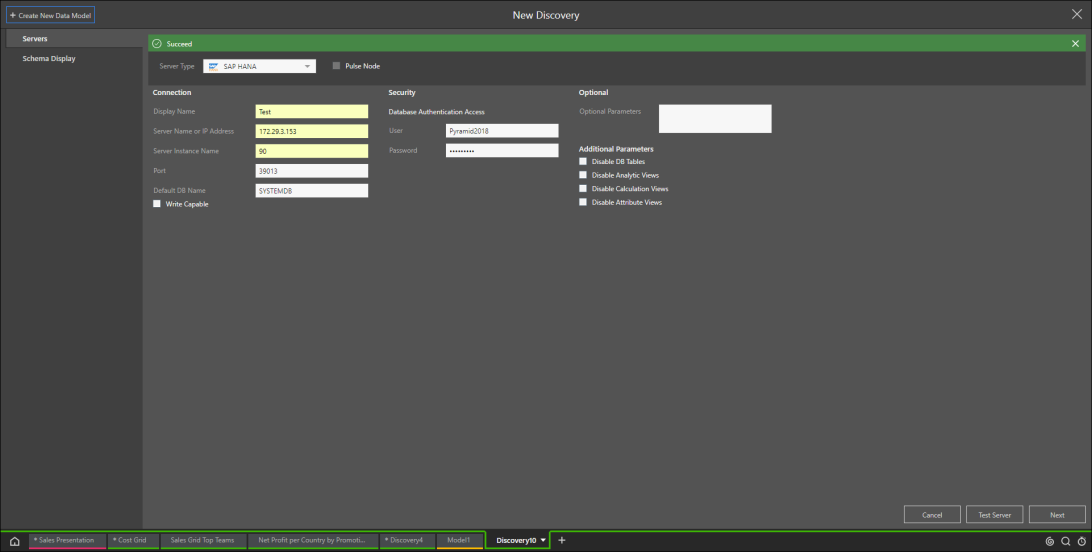
Then select the server type and enter the connection and security information.

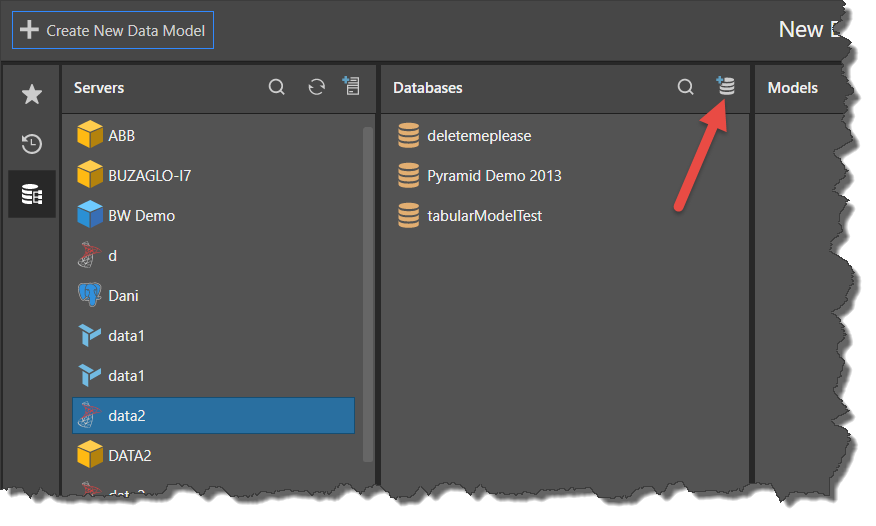
Alternatively, if you want to add a new database on an existing server, select the server and then click the Add New Database button rather than selecting an existing database.
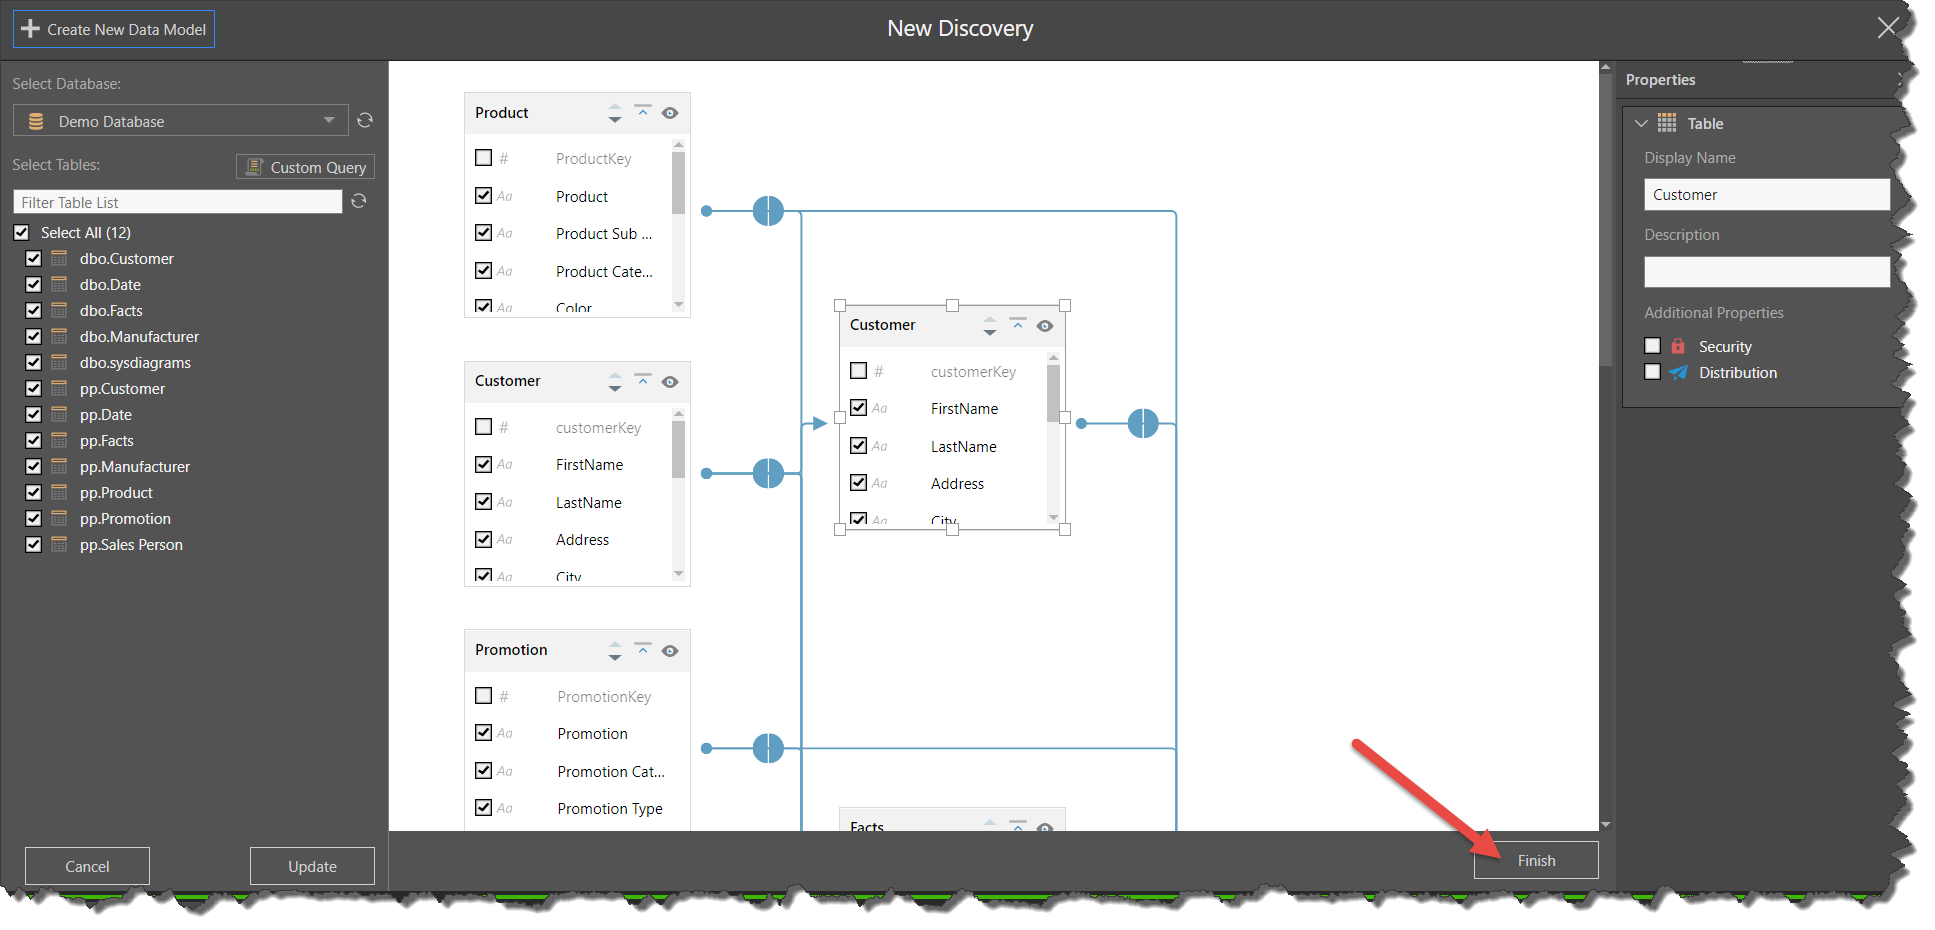
Next, choose a database and import the required tables; you'll then see the table relationships and properties, which you can edit before processing the data model.

Quick Model on SQL Script
When importing tables from the given database, you have 2 options: you can simply select the required tables from the list, or you can open the Custom Query editor where you can write a SQL script to return a table. Click here to learn about adding tables based on a custom query.
Preview Tables
As in Model Pro, you can the data in each table. Click the Preview icon (red arrow) from the relevant table to open its Preview panel (blue arrow). Each column can be sorted (green arrow) or filtered (yellow arrow). Click here to learn more.

Use this method to add a new server, and then add
Step 1
From the Servers column, you can add a new server. Click the Add New Server button, and then select the server type, enter the connection and security details, and select the Test Survey button.
Step 2
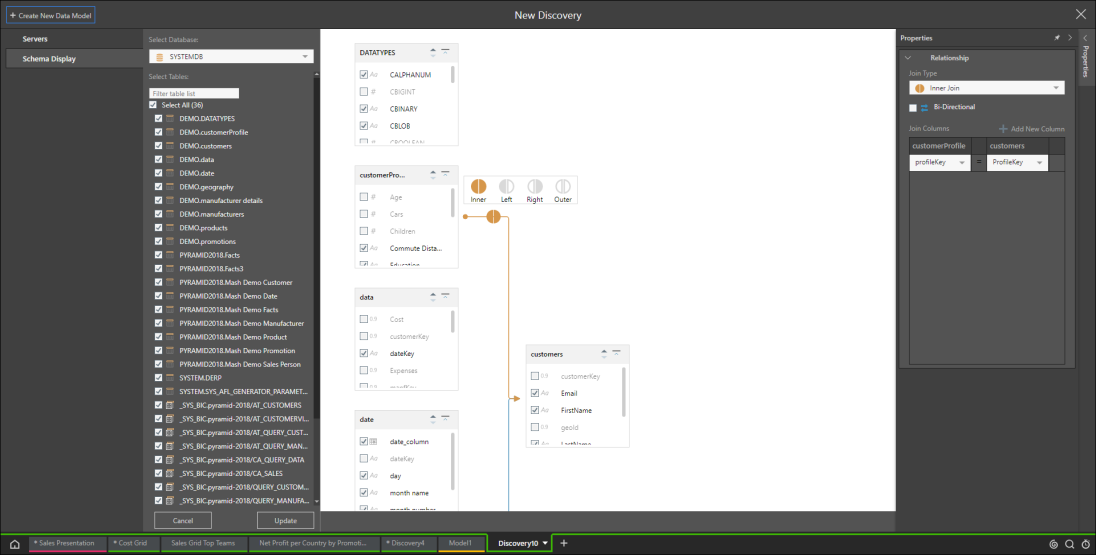
Click Next, and under Schema Display select the database and the tables that you want to include in the data model, and click Add.

Step 3
From the data flow, you can edit the relationships between the tables by clicking the joins.
Use this method to add a new database to an existing server.
Step 1
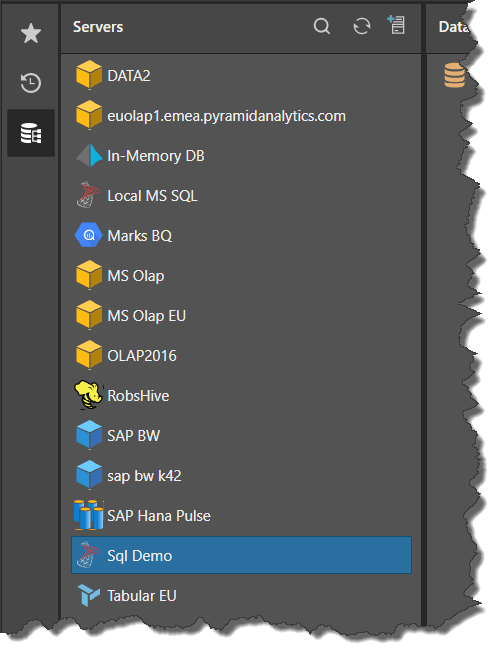
From the Servers column, click-select the server to which you want to add the new database.
Step 2
From the Databases column, click the 'Add New Database' icon.

The Add New Database interface will appear.

Step 3
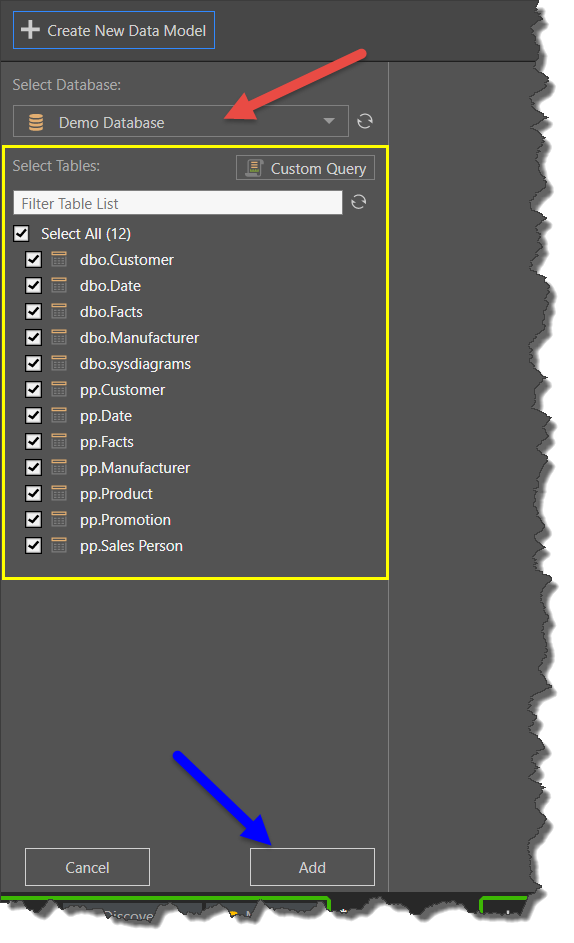
From the Select Database drop-down (red arrow), select the database where you want to add a new database. Click the refresh icon to refresh the list of databases if necessary.
Select the tables (yellow highlight) that you want to add to the new data model and click the Add button (blue arrow). The given tables will be displayed in a data flow.
Step 4
Edit the joins and the properties for tables and columns as required, and click Finish to process the data model and open it in Discover.
